
Courtesy of Two Hungry Dudes
In my opinion there are few things as perfect a a perfectly cooked pan seared chicken breast. When done properly it has a crisp and flavorful skin that packs enough savory punch you will want to slap your Grandma. Now, we do not condone Grandma slapping – it’s from a song from Trace Adkins and this term has kind have taken off in the South. However, I digress. We were talking about chicken were we not? Yes, Perfect Pan Seared Chicken. The challenge for new cooks is the ability to be consistent with results.
What I have found that there are some essential steps to ensure you have a successful sear. Pounding the chicken breast is an essential part of the preparation process to achieve a flat, even surface that maximizes the chicken skin with the hot skillet. Just like when you are going to sear a great rib-eye steak, you need to salt and pepper the protein prior to cooking. This way you get great penetration and the chicken actually tastes like something worthy of your time. I also found that having two bricks that have been covered with aluminum foil also helped to keep the chicken in contact with the skillet.
So, with a little effort and some patience you can produce a great tasting Pan Seared Chicken Breast for your family.
- 2 12 ounce bone in, skin on, chicken breasts that have been split
- 2 tablespoons canola oil
- kosher salt and fresh ground black pepper
- 30 minutes before cooking you will need to remove the bone from each chicken breast. Using a paring knife, place the skin side down of the chicken on a cutting board begin to run the the tip of the knife between the breastbone and the meaty side of the breast by angling the blade just slightly. Follow the rib cage all the way down to the thinner end of the chicken breast. You may need to repeat this a few times to completely remove the ribs. Repeat this for the 2nd chicken breast.
- Using the same paring knife, begin to poke holes in the chicken skin on both chicken breasts. I did this about 20-30 times. Place the chicken breast halves in their own plastic wrap cover. Then place it as flat as you can on a clean cutting board and use a meat mallet and get your frustrations out! Well, do it gently and proceed to pound the meat until it is about 1/2-inch in thickness.
- Remove the chicken from the plastic wrap and pat it dry with kitchen paper. Season each breast with about 1/2 teaspoon kosher salt. Place the breasts with the skin side up on a wire rack in a roasting pan, cover again with plastic wrap (this time lose) and allow to refrigerate for at least an hour, but not more than 8 hours.
- When you are ready to cook, pat the chicken breasts again with kitchen paper and then pepper the chicken breasts with 1/4 teaspoon of the black pepper.
- In a large skillet - I like cast iron pour the canola oil. Place the chicken breasts skin side down in the cold skillet, and then place the skillet over the flame. Use a medium flame. Then place your two aluminum foil covered bricks on top of the chicken to weight it down and keep it flat while cooking. Cook the chicken until the skin begins to turn a golden brown and the meat starts to become opaque on the edges. This should take about 10 minutes.
- Remove the bricks and continue to cook the chicken over medium heat until the skin has become well browned and has a very crisp texture. This should take an additional 5-7 minutes. Turn the chicken at this point, reduce the fire to a medium-low and allow to cook the 2nd side. The second side needs to turn a light brown color. The chicken will be done when it reaches 160-165 degrees F.
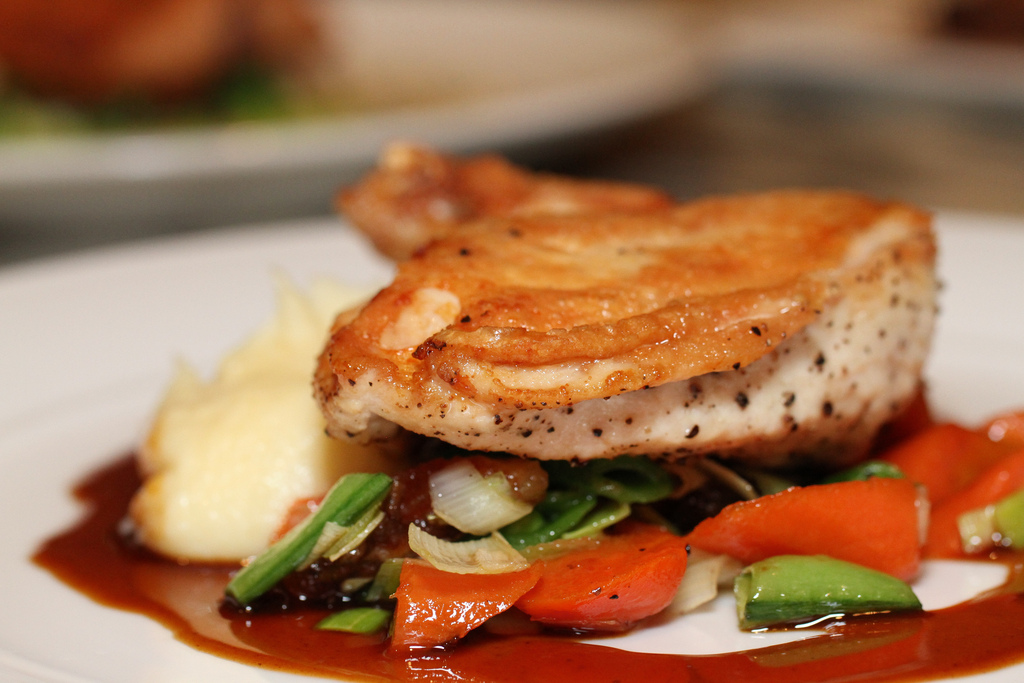
- Transfer the chicken to a serving plates and allow it to rest for at least 5 minutes before serving.
